Taking over your own vehicle maintenance saves money and guarantees the job gets done right, especially when you want to use premium fluids. If you’re preparing to slide under the engine block and pour in fresh synthetic motor oil for the very first time, a few simple strategies will transform a potentially messy chore into a smooth, stress-free process.
Get the Car Off the Ground Safely
While a traditional jack and jack stands work fine, rolling your vehicle onto a set of sturdy drive-on ramps is much easier for beginners. Ramps provide plenty of clearance to comfortably reach the undercarriage without the anxiety of balancing the car on metal points. They’re also incredibly stable, which gives you confidence when climbing underneath for the first time. Just be sure to engage the parking brake and place solid wheel chocks tightly behind the rear tires so the vehicle stays securely in place while you work.
Put Down a Cardboard Splash Guard
Spills happen, especially when you’re just learning the angles of your specific drain pan. When the plug finally gives way, the initial stream often shoots out much further than you expect. Laying down a flattened cardboard box or an old tarp directly under your workspace catches random splatters before they permanently stain your concrete driveway. Cardboard also provides a surprisingly comfortable, insulated barrier between your back and the cold, hard ground, making it much easier to slide in and out from under the front bumper.
Warm Up the Engine First
Cold fluids run like thick syrup, making them difficult to drain completely from the engine block. Start your car and let it idle for about five minutes to thin out the old fluids. However, you don’t want to work on a hot engine. After turning the car off, let it sit for another ten to fifteen minutes. This brief waiting period ensures the exhaust pipes cool down enough to prevent nasty burns on your forearms, while still keeping the liquid warm enough to drain out quickly and completely.
Loosen the Fill Cap Before the Drain Plug
Before you even crawl under the car, pop the hood and unscrew the top filler cap. Removing this cap breaks the vacuum seal inside the engine block. Think of it like pouring juice from a carton; if you punch a second hole in the top, the liquid pours out much faster and smoother. When you finally pull the drain plug underneath, the old fluid will flow out in a predictable stream instead of glugging, splashing, and making a mess all over your hands and driveway.
Master the Plastic Bag Filter Trick
Removing the old filter is usually the messiest part of the entire job because it’s full of dirty fluid that spills out the second you twist it loose. To prevent this, loosen the filter slightly with a specialized filter wrench until you can easily turn it by hand. Then, slip a small plastic grocery bag over the entire filter. As you finish unscrewing it, the bag will catch the filter and all the escaping fluid, keeping your hands and the surrounding engine parts completely clean.
Prep the New Filter Gasket
Installing the new filter completely dry is a common rookie mistake that often causes frustrating leaks later on. If the rubber is dry, it binds and tears against the metal. Dip your gloved finger into the fresh bottle of fluid and smear a light coat around the rubber O-ring gasket on top of the new filter. This simple step conditions the rubber, creates a tight, secure seal against the metal engine block, and ensures the filter twists off easily during your next scheduled maintenance day.
Replace the Metal Crush Washer
Many drain plugs use a small metal crush washer that seals the tiny gap between the plug and the pan. Reusing the old, flattened washer is a gamble that often results in slow drips on your driveway over the coming weeks. Pick up a cheap pack of replacement washers at the auto parts store before you start your project. Slipping a brand-new washer onto the drain plug before you thread it back in guarantees a perfect, watertight seal every single time.
Organize Your Tools Before Starting
Once your hands are dirty, you don’t want to be digging through a toolbox looking for the right socket. Lay out everything you need right next to your work area before you start. You’ll need your drain pan, the correct size socket wrench for the drain plug, a filter wrench, a clean funnel, several shop rags, and your fresh supplies. Having everything within arm’s reach speeds up the process significantly and keeps you focused on the task at hand.
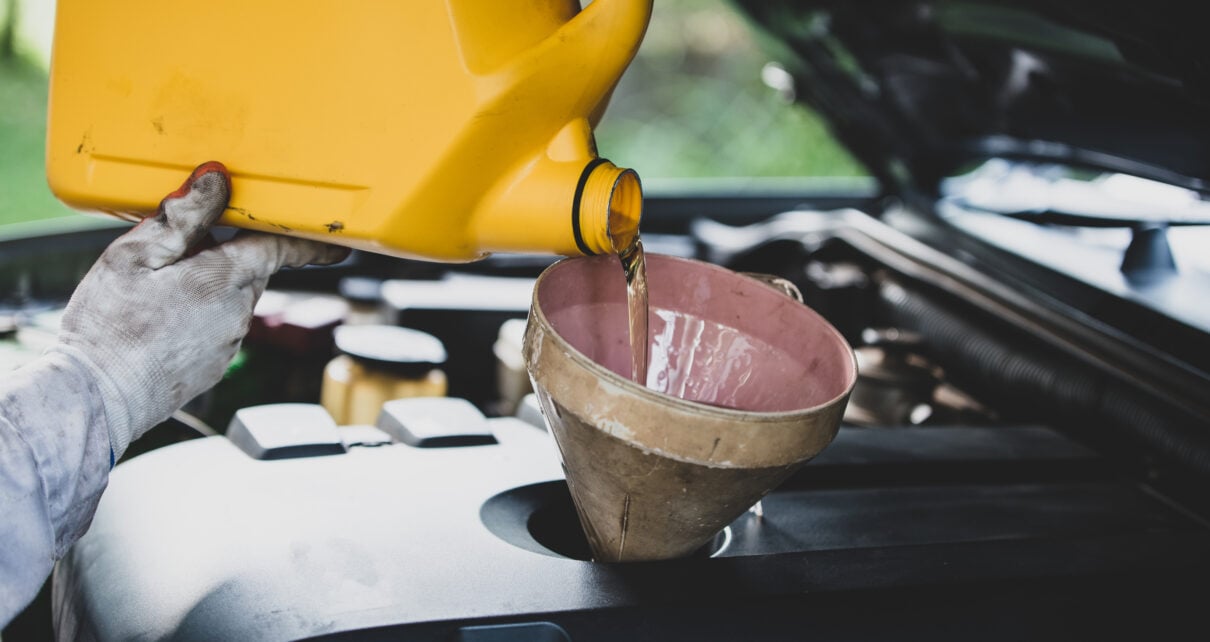
Use a Funnel to Avoid Top-Engine Spills
Pouring five quarts of fresh fluid directly from a wide-mouth jug into a small engine opening is a recipe for a smelly, smoking engine later. If fluid spills over the side, it often lands directly on the hot exhaust manifold. Always use a clean, wide-neck funnel when refilling. Pour slowly to give the fluid time to travel down into the engine block without backing up and spilling over the valve cover.
Document the Mileage and Date
When you finish the job, grab a piece of masking tape and a permanent marker. Write down today’s date and the current mileage on your odometer, then stick it in the top corner of your windshield or somewhere visible under the hood. It’s incredibly easy to forget when you did your last maintenance run. Having a visual reminder keeps your vehicle running smoothly on a predictable schedule without having to guess if it’s time for another change.
Safely Dispose of the Old Fluid
You can’t just toss a pan full of used fluid into the household trash or dump it down a storm drain. Pour the old liquid from your drain pan directly into the empty jugs you just used for your fresh supply. Seal the caps tightly and place them in the trunk of your car for your next errand run. Most auto parts stores and local mechanics accept sealed containers of used automotive fluids for free recycling, protecting the environment and keeping your garage completely clutter-free.