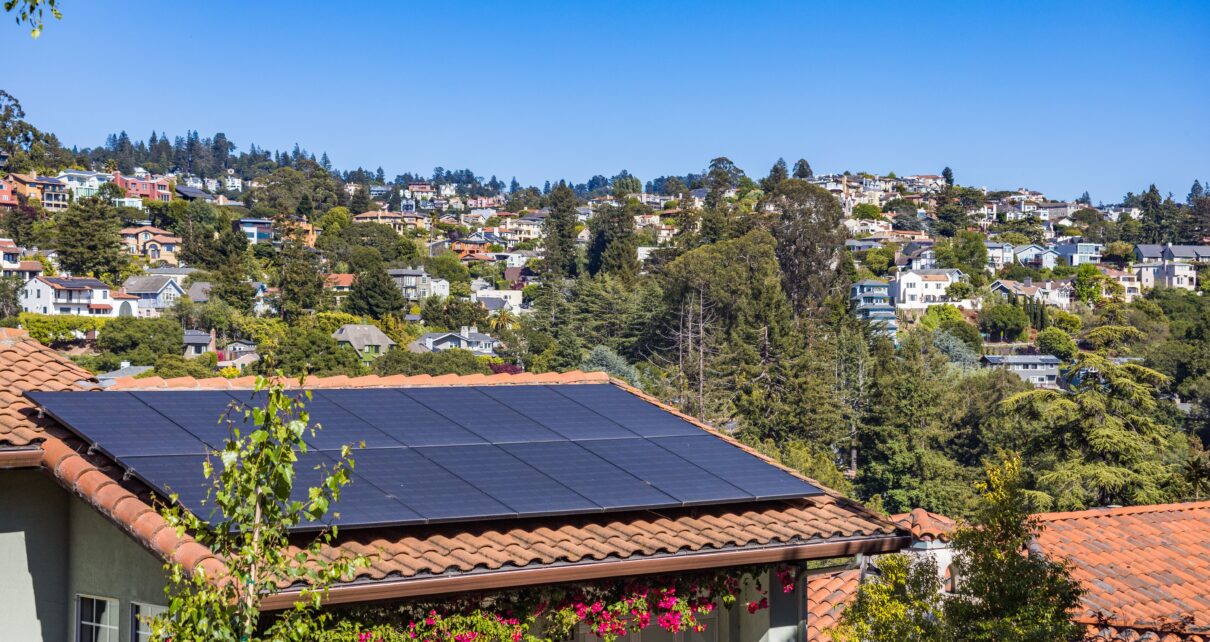
Making the switch to renewable energy is an exciting step. You’re probably looking forward to lowering your utility bills and reducing your carbon footprint. But before you get too far into the planning process, you’ve got to look up. Your roof is the foundation for your new energy setup, and not every roof is naturally suited to host a solar panel system. If you try to install equipment on a compromised or poorly oriented structure, you won’t see the financial returns you’re hoping for. Before you sign a contract, it’s crucial to evaluate several specific architectural and structural features of your house. Let’s explore the key roofing elements you must check to ensure your home is a perfect candidate for harnessing the sun’s power.
Age and Condition
The very first thing you need to determine is the current age and overall health of your roof. Solar equipment is incredibly durable and typically lasts for twenty-five to thirty years. If your current shingles are already fifteen years old and showing signs of wear, putting expensive equipment on top of them is a bad idea. Eventually, you’ll need to replace the roof. Taking down all the panels, storing them, and reinstalling them after the roofers finish will cost you a significant amount of money. It’s always best to coordinate your solar installation with a roof replacement if your materials are nearing the end of their lifespan. An inspector can tell you if your shingles are curling, cracking, or losing their protective granules.
Roof Orientation and Sun Exposure
Once you’ve confirmed your roof is in good shape, you need to think about which way it faces. Here in the Northern Hemisphere, south-facing roofs receive the most direct sunlight throughout the day. This orientation provides the maximum energy generation possible. East and west-facing roofs can also work quite well, though they’ll generate slightly less power overall. North-facing roofs are generally the least productive and might not justify the investment unless you’re using specialized mounting brackets to tilt the equipment backward. Along with the direction, you’ll want to assess the total square footage of uninterrupted space available. You need a large, continuous area to mount an array that is large enough to actually offset your daily electricity usage.
Evaluating the Pitch
The angle, or pitch, of your roof also plays a vital role in how efficiently your setup will operate. The ideal pitch usually falls somewhere between thirty and forty-five degrees. This slope allows the sun’s rays to hit the photovoltaic cells directly, maximizing their energy absorption. If your roof is completely flat, the equipment won’t perform at peak levels unless installers build custom angled racks to prop them up. A flat installation also means water and debris might pool on the glass, blocking the sunlight. If your roof is extremely steep, the installation process becomes far more dangerous and difficult, which will likely increase your labor costs. A moderate slope provides the perfect balance for performance and simple installation.
Shade and Environmental Obstructions
You could have a pristine, south-facing roof with the perfect pitch, but none of that matters if the sun can’t reach it. Shade is the ultimate enemy of solar production. Take a walk around your property at different times of the day to see where the shadows fall. Pay close attention to tall, mature trees in your yard or your neighbors’ yards. You should also look for architectural features on your own house that cast shadows, like tall brick chimneys, dormer windows, or satellite dishes. Even a small amount of shade on a single section can significantly reduce the output of the entire array. If you’ve got large trees blocking the southern sky, you’ll have to decide if you’re willing to trim them back.
Material Compatibility
What your roof is made of determines how complicated the installation will be. Traditional asphalt shingles are by far the easiest and most common material to work with. Installers simply drill through the shingles into the rafters and seal the penetrations to prevent leaks. Metal standing seam roofs are even better because the mounting racks clamp directly onto the raised seams, meaning no holes are drilled into your roof at all. However, if your home features clay tiles, slate, or wood shakes, the process gets tricky. These materials are brittle and easily broken under the weight of a worker’s boots. Installing on these surfaces requires specialized mounting hardware and highly experienced technicians, driving up your initial installation costs.
Structural Load Capacity
Finally, you have to consider the physical weight your home’s framing can support. While modern panels are relatively sleek, an entire array paired with metal mounting racks adds a considerable amount of load to your home’s structure. Most modern homes are built to handle this extra burden without any trouble. However, if you live in an older home, the rafters and trusses might need some reinforcement before they can safely support the system. This is especially true if you live in a region that sees significant winter snowfall, as the combined weight of the snow and the equipment can strain an older roof. A professional structural evaluation is a crucial step to ensure your home remains safe and secure for decades to come.
Doing Your Homework Upfront
Transitioning to clean energy is a smart financial move that pays off for years, provided your home is ready for it. By taking the time to carefully evaluate the age, direction, pitch, and structure of your roof, you’ll avoid unexpected costs and frustrating delays. You don’t want to rush into an installation only to discover your shingles need replacing a year later or your favorite oak tree blocks all the afternoon light. Doing your homework upfront ensures your new energy system operates at peak efficiency, giving you the best possible return on your investment while keeping your home safe and sound.


